Workshop 9.1: Creating a PMIS Site Template
In this workshop, you will save your case study PMIS as a site template as part of your project closure activities.
For fields and settings that aren’t mentioned in the workshop steps, accept the default settings. Here are the steps to create a site template:
Open Internet Explorer and access your PMIS.
Click Site Actions→Site Settings (Figure 9-5).
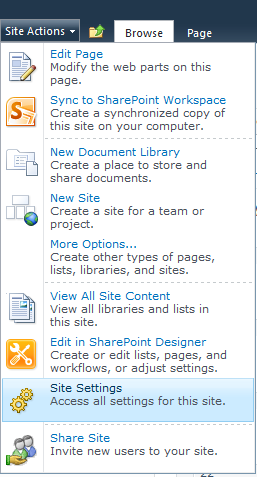
Figure 9-5. Accessing Site Settings
In the Site Actions column, click “Save site as template”, if you are a site collection administrator (Figure 9-6).
The “Save site as template” page will be displayed (Figure 9-7). Enter the following information:
File name: <city>.stp (.stp is the file extension of site templates)Template name: <city>PMIS TemplateTemplate description: This is the PMIS template used for new SharePointDojo projects.Include Content: Disabled 
Figure 9-6. Saving a site as a template
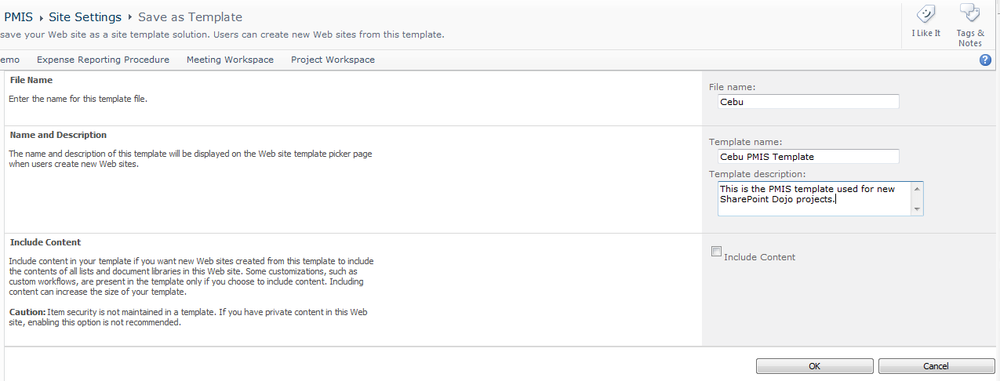
Figure 9-7. Updating site template information
Click OK and then OK again.
A page similar to the one shown in Figure 9-8 will be displayed. Applying what you learned in Chapter 2, use the following settings to create a subsite from your existing PMIS using the site template you just saved:
Title:
testURL name:
Get SharePoint 2010 for Project Management, 2nd Edition now with the O’Reilly learning platform.
O’Reilly members experience books, live events, courses curated by job role, and more from O’Reilly and nearly 200 top publishers.

