Connecting an XBee to an Arduino
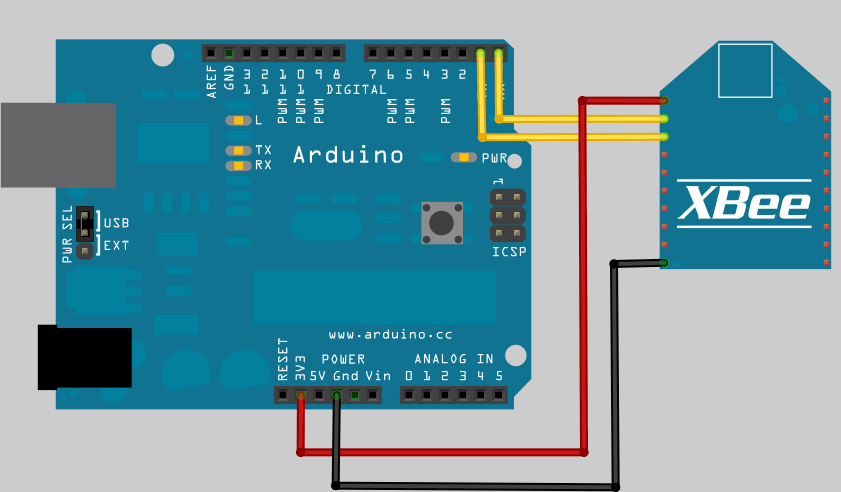
You can actually directly connect an XBee radio module to an Arduino by making use of the 3.3V pin on the Arduino board to provide a regulated voltage for the module. See Figure 5-7.

Figure 5-7. Connecting an XBee to an Arduino
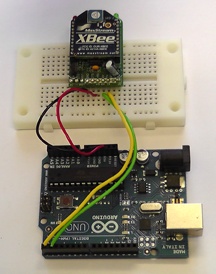
However, it’s a lot easier if you make use of a breakout board, or an appropriate adaptor board, like the Adafruit board we used to connect the XBee to our Mac earlier (see Figure 5-8).
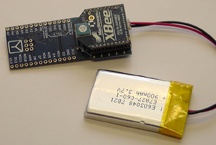
Alternatively, if you’re going to be making a lot of use of XBee modules, you might want to invest in an Arduino Fio board (see Figure 5-9), which is an Arduino board with an attached XBee socket. You can buy an Arduino Fio from SparkFun.

Figure 5-8. An Arduino Uno and Adafruit XBee adaptor connected together

Figure 5-9. The Arduino Fio with XBee connected to a LiPo battery
We’re going to use the same simple sketch on our Arduino that we used in Chapter 1 to print “Hello World” to the serial port. Connect your Arduino board to your Mac and upload the following sketch:
void setup() {
  Serial.begin(9600);
}

void loop() {
  while (Serial.available() <= 0) {
    Serial.println("Hello world");
    delay(300);
  }
}
Warning
You cannot upload a sketch from your Mac to the board ...
Get iOS Sensor Apps with Arduino now with the O’Reilly learning platform.
O’Reilly members experience books, live events, courses curated by job role, and more from O’Reilly and nearly 200 top publishers.

