You want to allow the users of your app to select a date and time using an intuitive and ready-made user interface.
UIDatePicker is very similar to
the UIPickerView class. The date
picker is in fact a prepopulated picker view. A good example of the date
picker control is in the Calendar app on the iPhone (Figure 1-13).

Let’s get started by first declaring a property of type UIDatePicker. Then we’ll allocate and
initialize this property and add it to the view of our view
controller:
#import "ViewController.h"@interfaceViewController()@property(nonatomic,strong)UIDatePicker*myDatePicker;@end@implementationViewController...
And now let’s instantiate the date picker, as planned:
-(void)viewDidLoad{[superviewDidLoad];self.myDatePicker=[[UIDatePickeralloc]init];self.myDatePicker.center=self.view.center;[self.viewaddSubview:self.myDatePicker];}
Now let’s run the app and see how it looks in Figure 1-14.
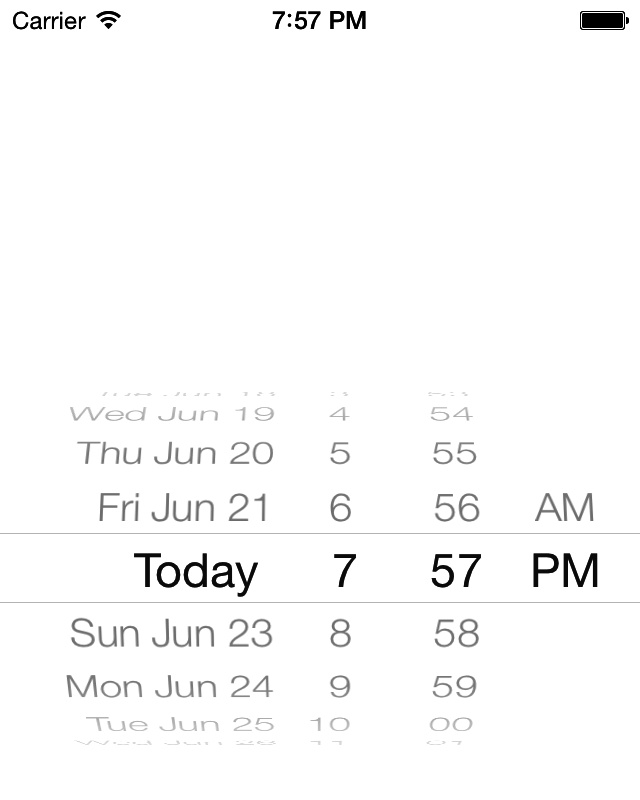
You can see that the date picker, by default, has picked today’s
date. The first thing that we need to know about date pickers is
that they can have different styles or modes. This mode can be changed through the datePickerMode property, which is of type
UIDatePickerMode:
typedefNS_ENUM(NSInteger,UIDatePickerMode){UIDatePickerModeTime,UIDatePickerModeDate,UIDatePickerModeDateAndTime,UIDatePickerModeCountDownTimer,};
Depending on what you need, you can set the mode of your date
picker to any of the values listed in the UIDatePickerMode enumeration. I’ll show some
of these as we go along.
Now that you have successfully displayed a date picker on the
screen, you can attempt to retrieve its currently selected date using
its date property. Alternatively, you
can call the date method on the date
picker, like so:
NSDate*currentDate=self.myDatePicker.date;NSLog(@"Date = %@",currentDate);
Just like the UISwitch
class, a date picker sends action messages to its targets whenever the
user has selected a different date. To respond to these messages, the receiver must add itself as
the target of the date picker, using the addTarget:action:forControlEvents: method,
like so:
-(void)datePickerDateChanged:(UIDatePicker*)paramDatePicker{if([paramDatePickerisEqual:self.myDatePicker]){NSLog(@"Selected date = %@",paramDatePicker.date);}}-(void)viewDidLoad{[superviewDidLoad];self.myDatePicker=[[UIDatePickeralloc]init];self.myDatePicker.center=self.view.center;[self.viewaddSubview:self.myDatePicker];[self.myDatePickeraddTarget:selfaction:@selector(datePickerDateChanged:)forControlEvents:UIControlEventValueChanged];}
Now, every time the user changes the date, you will get a message from the date picker.
A date picker also lets you set the minimum and the maximum
dates that it can display. For this, let’s first switch our date picker
mode to UIDatePickerModeDate and
then, using the maximumDate and the
minimumDate properties, adjust this
range:
-(void)viewDidLoad{[superviewDidLoad];self.myDatePicker=[[UIDatePickeralloc]init];self.myDatePicker.center=self.view.center;self.myDatePicker.datePickerMode=UIDatePickerModeDate;[self.viewaddSubview:self.myDatePicker];NSTimeIntervaloneYearTime=365*24*60*60;NSDate*todayDate=[NSDatedate];NSDate*oneYearFromToday=[todayDatedateByAddingTimeInterval:oneYearTime];NSDate*twoYearsFromToday=[todayDatedateByAddingTimeInterval:2*oneYearTime];self.myDatePicker.minimumDate=oneYearFromToday;self.myDatePicker.maximumDate=twoYearsFromToday;}
With these two properties, we can then limit the user’s selection on the date to a specific range, as shown in Figure 1-15. In this example code, we have limited the user’s input of dates to the range of one year to two years from now.

If you want to use the date picker as a countdown timer, you
must set your date picker mode to UIDatePickerModeCountDownTimer and use the
countDownDuration property of the
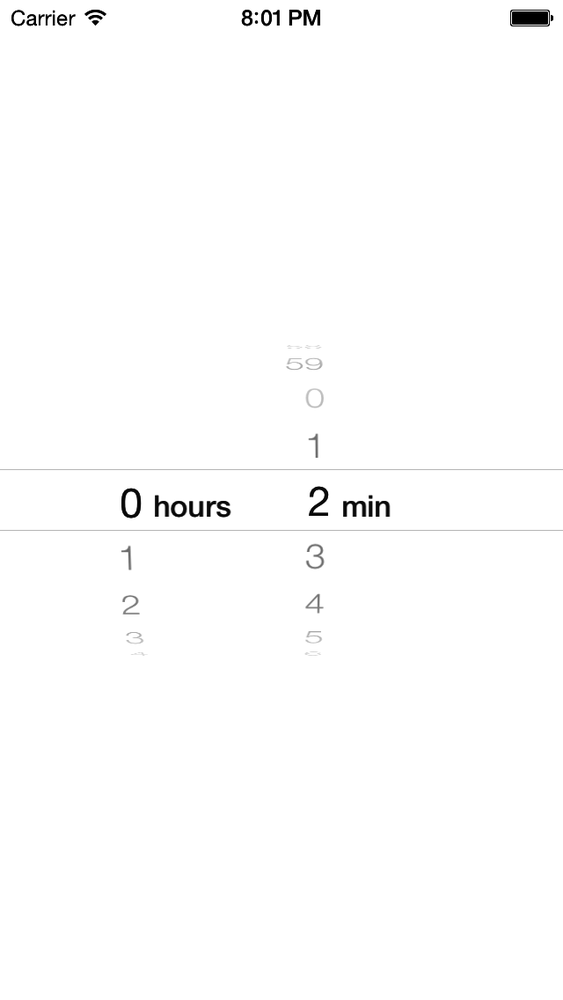
date picker to specify the default countdown duration. For instance, if
you want to present a countdown picker to the user and set the default
countdown duration to two minutes, write code like this:
-(void)viewDidLoad{[superviewDidLoad];self.myDatePicker=[[UIDatePickeralloc]init];self.myDatePicker.center=self.view.center;self.myDatePicker.datePickerMode=UIDatePickerModeCountDownTimer;[self.viewaddSubview:self.myDatePicker];NSTimeIntervaltwoMinutes=2*60;[self.myDatePickersetCountDownDuration:twoMinutes];}
The results are shown in Figure 1-16.
Get iOS 7 Programming Cookbook now with the O’Reilly learning platform.
O’Reilly members experience books, live events, courses curated by job role, and more from O’Reilly and nearly 200 top publishers.

