Applying an Image to a Model
You may have noticed from the photo that a lot is going on up on the roof at Villa Savoye, which has some interesting curved walls and openings. The Front and Back view don't give you the whole picture, but Google Earth satellites do. In this next section, you apply a photo of the roof to the top of your model. Then you use the image to help you recreate that detail on the top of the villa. Instead of importing this image as a matched photo, you import it as a texture:
Click the "villa_savoye_front (2D) tab".
When you change your view in the next step, the photo disappears, but remember which side of the building is the front with the curved walls.
Use the Orbit (Q) tool to view the roof of the building.
Rotate the view so that the front of the building is pointed toward the bottom of your computer screen.
Choose File → Import.
A file browser window opens. In Windows it looks like Figure 10-17.
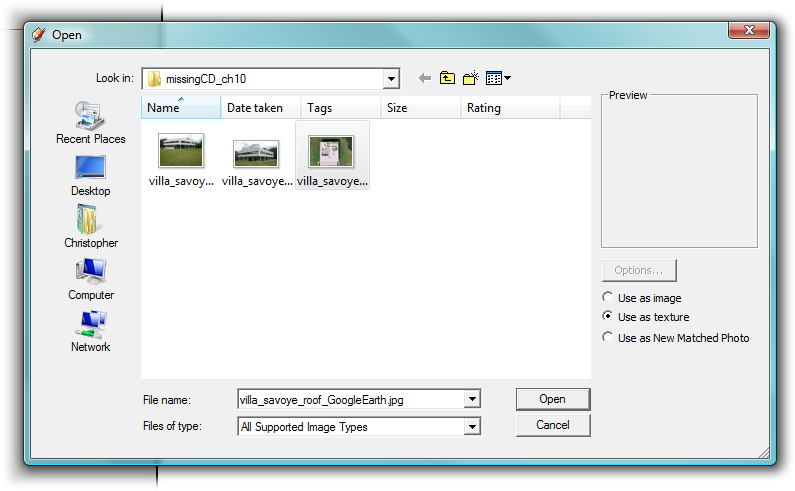
Figure 10-17. You can import the photo of the roof as a texture file. This way, you don't have to calibrate it, but you do have to resize it and position it on the roof of the model.
Find and select the file named villa_savoye_roof_GoogleEarth.jpg. Click the "Use as texture" radio button and then click Open.
The image you're importing is attached to the cursor.
If you don't see the file where you saved it, make sure the "Files of type" menu (Format on a Mac) is set to either ...
Get Google SketchUp: The Missing Manual now with the O’Reilly learning platform.
O’Reilly members experience books, live events, courses curated by job role, and more from O’Reilly and nearly 200 top publishers.

