If you have an Xbox 360 with a Creator's Club Account or a Microsoft Zune device, we can take this game to the next step and run it on either device.
Creating the Xbox 360 version of this project is quite simple. By right-clicking on the AlienAttack project in the Solution Explorer, you should see an option labeled "Create Copy of Project for Xbox 360," as shown in Figure 1-9.
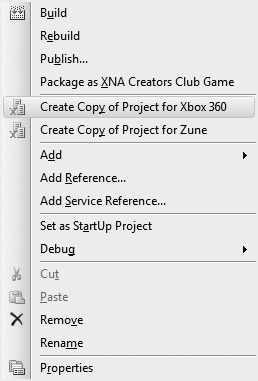
This will, as it says, create a brand-new project, link your existing code files and content, and put it in the same solution. If you build this new project, you will now have an Xbox 360 version ready to deploy to your console.
If you haven't already done so, you will need to install the XNA Game Studio Connect application on your Xbox 360 from the Games Marketplace. Once logged in with the Gamertag associated with your Creators Club Premium membership, enter the Games Marketplace area and select All Games→Browse→All Games→XNA Creators Club. From here, download the XNA Game Studio Connect application.
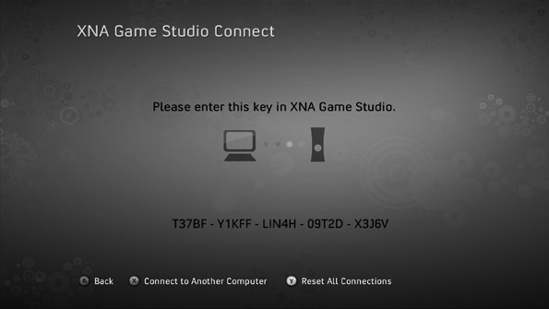
Next, you will have to connect the Xbox 360 to your PC. Run the XNA Game Studio Connect application on your Xbox 360. Run the XNA Game Studio Connect application on your Xbox 360 by navigating to the My Xbox channel→Game Library→Community Games→XNA Game Studio Connect.
When it starts, you will be presented with a screen that includes a 25-character connection key, as shown in Figure 1-10.
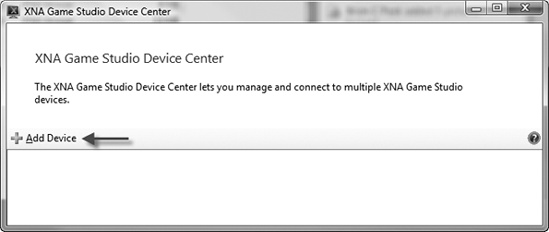
Back on the PC, start XNA Game Studio Device Center and click the Add Device button, as shown in Figure 1-11.
Select the Xbox 360 as the device to connect to, as shown in Figure 1-12.
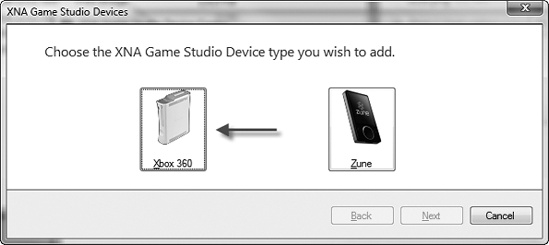
Give the Xbox 360 a name and click Next. Enter the connection key displayed on the Xbox 360 and click Next. The PC should find the Xbox 360 and connect. Click Finish to end adding the device.
Now, in Visual Studio, if you build and run the Xbox 360 project, it should deploy to the selected Xbox 360 and start. Later on, if you wish to run the game again, you will find it on the My Games section of the Games Library on your Xbox 360.
You can also debug this game as it is running on the Xbox 360 as though it were running on your PC. Breakpoints can be set, code can be set through, variables can be inspected, and so on.
Creating the Zune project is a bit more complex, but certainly not difficult. Because the graphics need to be reformatted to fit the 240×320 resolution screen, we need to recreate our Content Pipeline. The easiest way to handle this is to start a new instance of Visual Studio and create a new Zune game project, as shown in Figure 1-13.
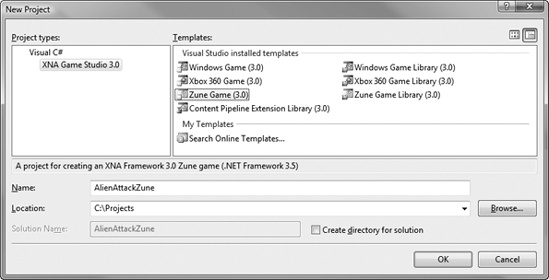
Name the project AlienAttackZune and save it to a new, separate directory from the Windows and Xbox 360 versions.
Next, drag all of the downloaded assets from the Zune folder to the Content Pipeline. Finally, we need to add all of the code. Create a Sprites folder and a Screens folder to match the previous project.
Visual Studio has a feature where you can link files to a project instead of including them directly. Right-click on the root of the project and choose Add→Existing Item.... Browse to the root of the Windows project, select all .cs files, and then click Add As Link, as shown in Figure 1-14.
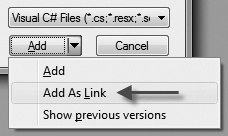
This will add the code files as a link instead of copying them to the new project directly. Next, do the same with the .cs files located in the Sprites and Screens folder.
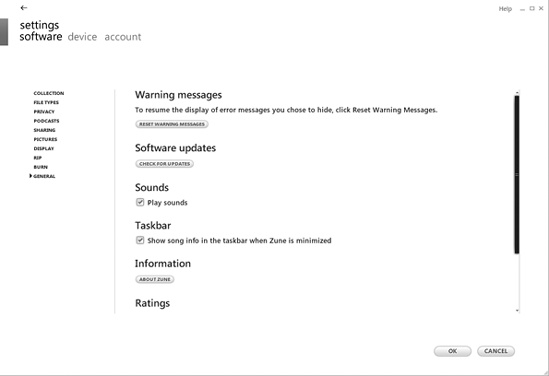
Now that the project is complete, we need to set up our Zune device. First, ensure you are running Zune firmware version 3.0 or greater. To view the Zune's firmware version, select settings→about→zune. If it is a version earlier than 3.0, you will need to update the Zune.
If you do not have the Zune software installed on your computer, you can download it from http://www.zune.net/setup. Connect the Zune to your PC using the USB cable, start the Zune software, and select Settings→General→Check for Updates, as shown in Figure 1-15.
The latest version will be downloaded and installed automatically.
Next, we need to add the Zune device as a deployable device. Ensure the Zune is connected to the PC, start XNA Game Studio Device Center, and click the Add Device button. Choose the Zune as the device type you wish to add and click Next. You will be presented with a list of Zune devices connected to the PC. Select the one you wish to add and click the Next button. This will add the device.
Back in Visual Studio, run the Zune project and it will be automatically built, deployed, and run on the Zune device. As with the Xbox 360 and PC versions, the Zune-compatible version can also be debugged in Visual Studio while it is running on the device.
Get Coding4Fun now with the O’Reilly learning platform.
O’Reilly members experience books, live events, courses curated by job role, and more from O’Reilly and nearly 200 top publishers.

