The Date panel looks a lot like the previous
panels, with a couple of exceptions (refer to Example 4-4). Add the HTML for the Date panel right
after the Dates panel, just before the closing
</body>.
Example 4-4. The HTML for the Date panel
<div id="date">
<div class="toolbar">
<h1>Date</h1>
<a class="button back" href="#">Back</a>
<a class="button slideup" href="#createEntry">+</a> </div>
<ul class="edgetoedge">
<li id="entryTemplate" class="entry" style="display:none">
</div>
<ul class="edgetoedge">
<li id="entryTemplate" class="entry" style="display:none"> <span class="label">Label</span>
<span class="calories">000</span>
<span class="delete">Delete</span>
</li>
</ul>
</div>
<span class="label">Label</span>
<span class="calories">000</span>
<span class="delete">Delete</span>
</li>
</ul>
</div>-
The Date panel toolbar has an additional button. When clicked, this button will display the New Entry panel (which we have not yet built). The link has a class of
slideup, which tells jQTouch that we want the target panel to slide up from the bottom of the screen, rather than in from the left or right like normal navigation.-
The other unusual aspect of this panel is that we define a list item with the style set to
display:none, effectively making it invisible.As you’ll see in a bit, we’ll use this invisible list item as a template to display entries once they are created. At this point, there are no entries, so the panel will be empty aside from the toolbar.
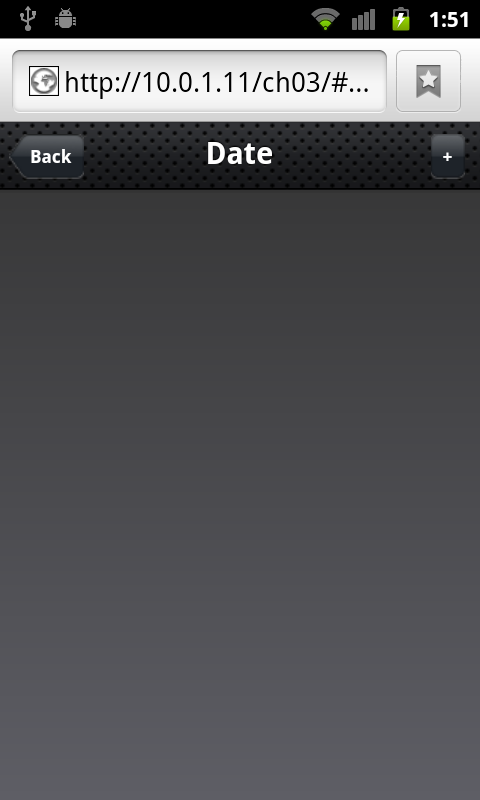
Now that you’ve added the Date panel, clicking any item on the Dates panel will slide the empty Date panel (Figure 4-5) into view.
Get Building Android Apps with HTML, CSS, and JavaScript, 2nd Edition now with the O’Reilly learning platform.
O’Reilly members experience books, live events, courses curated by job role, and more from O’Reilly and nearly 200 top publishers.

