Chapter 38
Setting Light with Shadows
In this chapter, the SketchUp Shadow menu will be used to set lighting in the model (Fig. 38.1 through Fig. 38.11). The IRPs rely on the SketchUp Shadow menu to determine exterior light. The various scenes created in the previous chapter will be used to help assess and save light settings in the model.
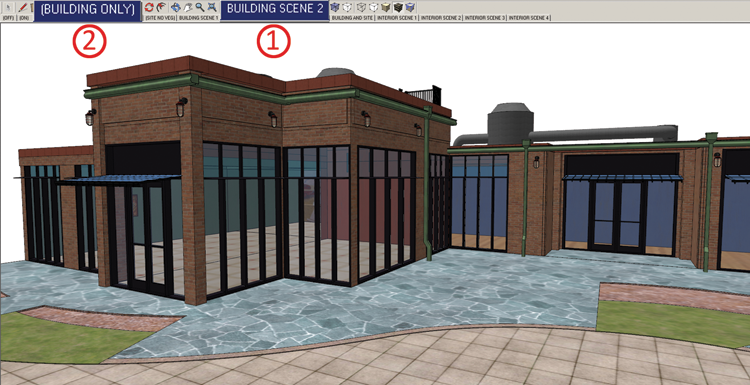
Fig. 38.1: One of the building scenes with a saved camera view is selected from the Scene tabs (1). SketchUp will swing the camera view to the saved position. The detailed layers are toggled to visible. Next, the Building Only scene (2) is clicked, turning off all the detail but preserving the camera view. Shadows can be turned on and adjusted for best result. Turning off the detail associated with the camera views makes it easier to turn on and assess the shadows.

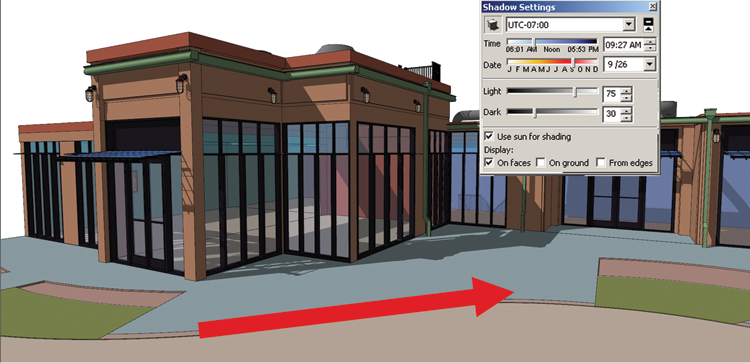
Fig. 38.2: The Shadows are turned on and adjusted. The Shadows are set to produce a good amount of contrast between the various building surfaces. Although the shadow direction is good for rendering, there is not enough contrast in the scene.

Fig. 38.3: A shadow box is created, placed on its own layer, and positioned in the model. Turning on the Shadows shows where the shadow box shade is directed into the model. The type of shadow that is cast is based on the camera view. In this ...
Get Rendering in SketchUp: From Modeling to Presentation for Architecture, Landscape Architecture and Interior Design now with the O’Reilly learning platform.
O’Reilly members experience books, live events, courses curated by job role, and more from O’Reilly and nearly 200 top publishers.

