Inserting Clip Art
Clip Art provides another source of decoration for your documents, frequently used in newsletters and flyers when visuals are useful. Part of Office’s Shared Features set, depending on what Office program you have and how much of them you have installed, Clip Art has hundreds or even thousands of little pieces of royalty-free topical art that you can use anywhere.
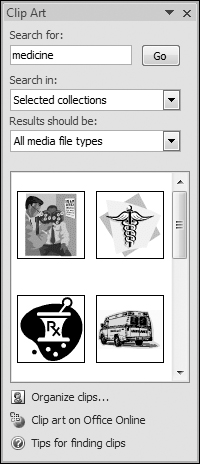
To insert Clip Art at the insertion point, click Insert ![]() Clip Art, in the Illustrations group. To accept the defaults, type a search term (for example, medicine) and click Go, shown in Figure 9-46. When clip art appears, scroll through the list. When you find something you want to use, click on it to insert it into your document.
Clip Art, in the Illustrations group. To accept the defaults, type a search term (for example, medicine) and click Go, shown in Figure 9-46. When clip art appears, scroll through the list. When you find something you want to use, click on it to insert it into your document.
Figure 9-46. The Clip Art pane uses local clip art as well as clip art from Office Online.

To control where Clip Art searches, use the drop-down Search In list, shown in Figure 9-47. To search only your local collection, remove the check next to Everywhere, and enable only My Collections and Office Collections. To include searching online, leave Web Collections checked. You can further control the scope of the search by limiting the search to only a particular kind of media. By default, Word searches for all media types—including movies and sounds! Note also that we talked ...
Get Office 2007 Bible now with the O’Reilly learning platform.
O’Reilly members experience books, live events, courses curated by job role, and more from O’Reilly and nearly 200 top publishers.

