Chapter 6. IBM System x3850 X5 and x3950 X5 221
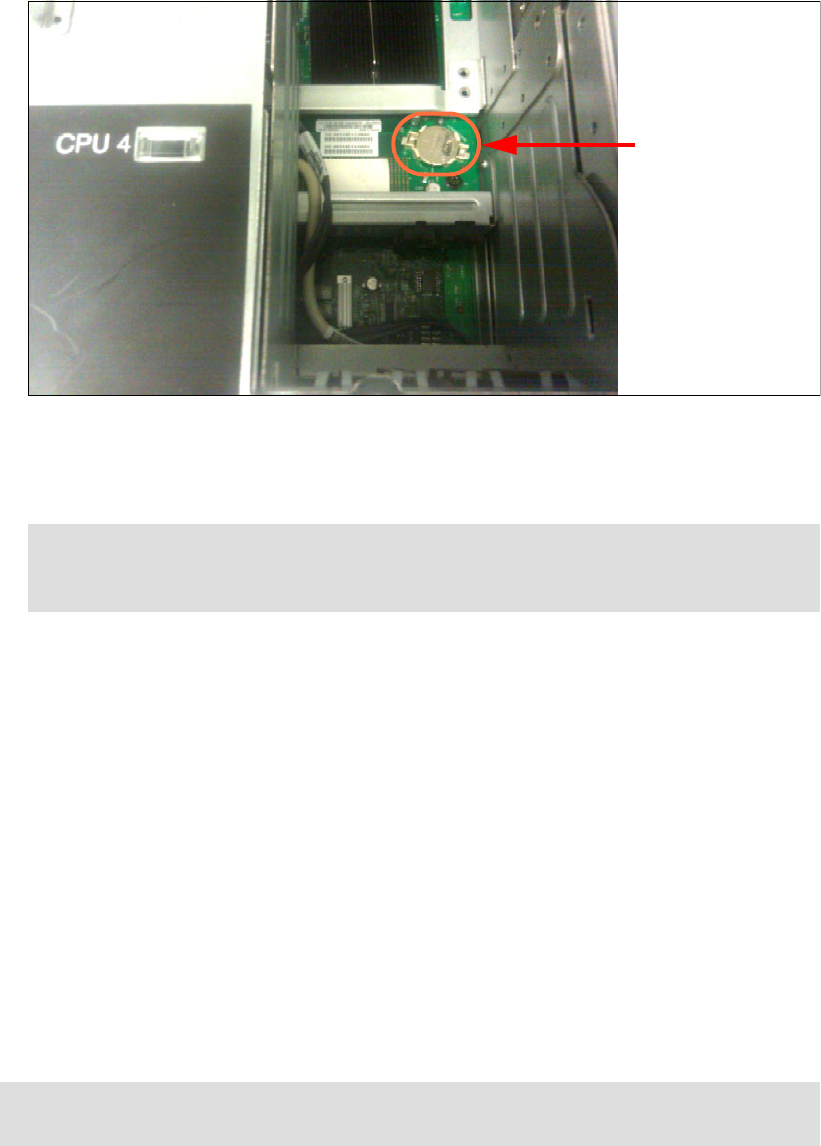
Figure 6-1 CMOS battery location
3. Use your finger to pry up the battery on the side closest to the neighboring IC chip. The
battery easily lifts out of the socket.
4. After 30 seconds, insert one edge of the battery, with the positive side up, back into the
holder.
5. Push the battery back into the socket with your finger and it clips back into place, as shown
in Figure 6-1.
6.1.3 Verify that the server completes POST before adding options
When you have ordered options for your server that have not yet been installed, it is a good
idea to ensure that the server completes the POST properly before you start to add your
options. Performing this task makes it easier to compartmentalize a potential problem with an
installed option rather than having to look at the entire server to try to identify a good starting
point during problem determination.
6.2 Processor considerations
This server supports a total of four matched processors. The required match refers to the
family of processors, number of cores, size of level 2 cache, core, and front side bus speeds.
As a matter of standard manufacturing, the producing vendor might alter the method of
manufacturing the processor, which results in separate stepping levels, but does not affect the
overall functionality of the processor in its ability to communicate with other processors in the
Tip: The light path diagnostics (LPD) lights are powered from a separate power source
(a capacitor) than the CMOS memory. LPD lights remain lit for a period of time after ac
power and the CMOS memory battery have been removed.
CMOS battery
Tip: To understand the information in this section, thoroughly read the information in 3.7,
“Processor options” on page 74.
Get IBM eX5 Implementation Guide now with the O’Reilly learning platform.
O’Reilly members experience books, live events, courses curated by job role, and more from O’Reilly and nearly 200 top publishers.

