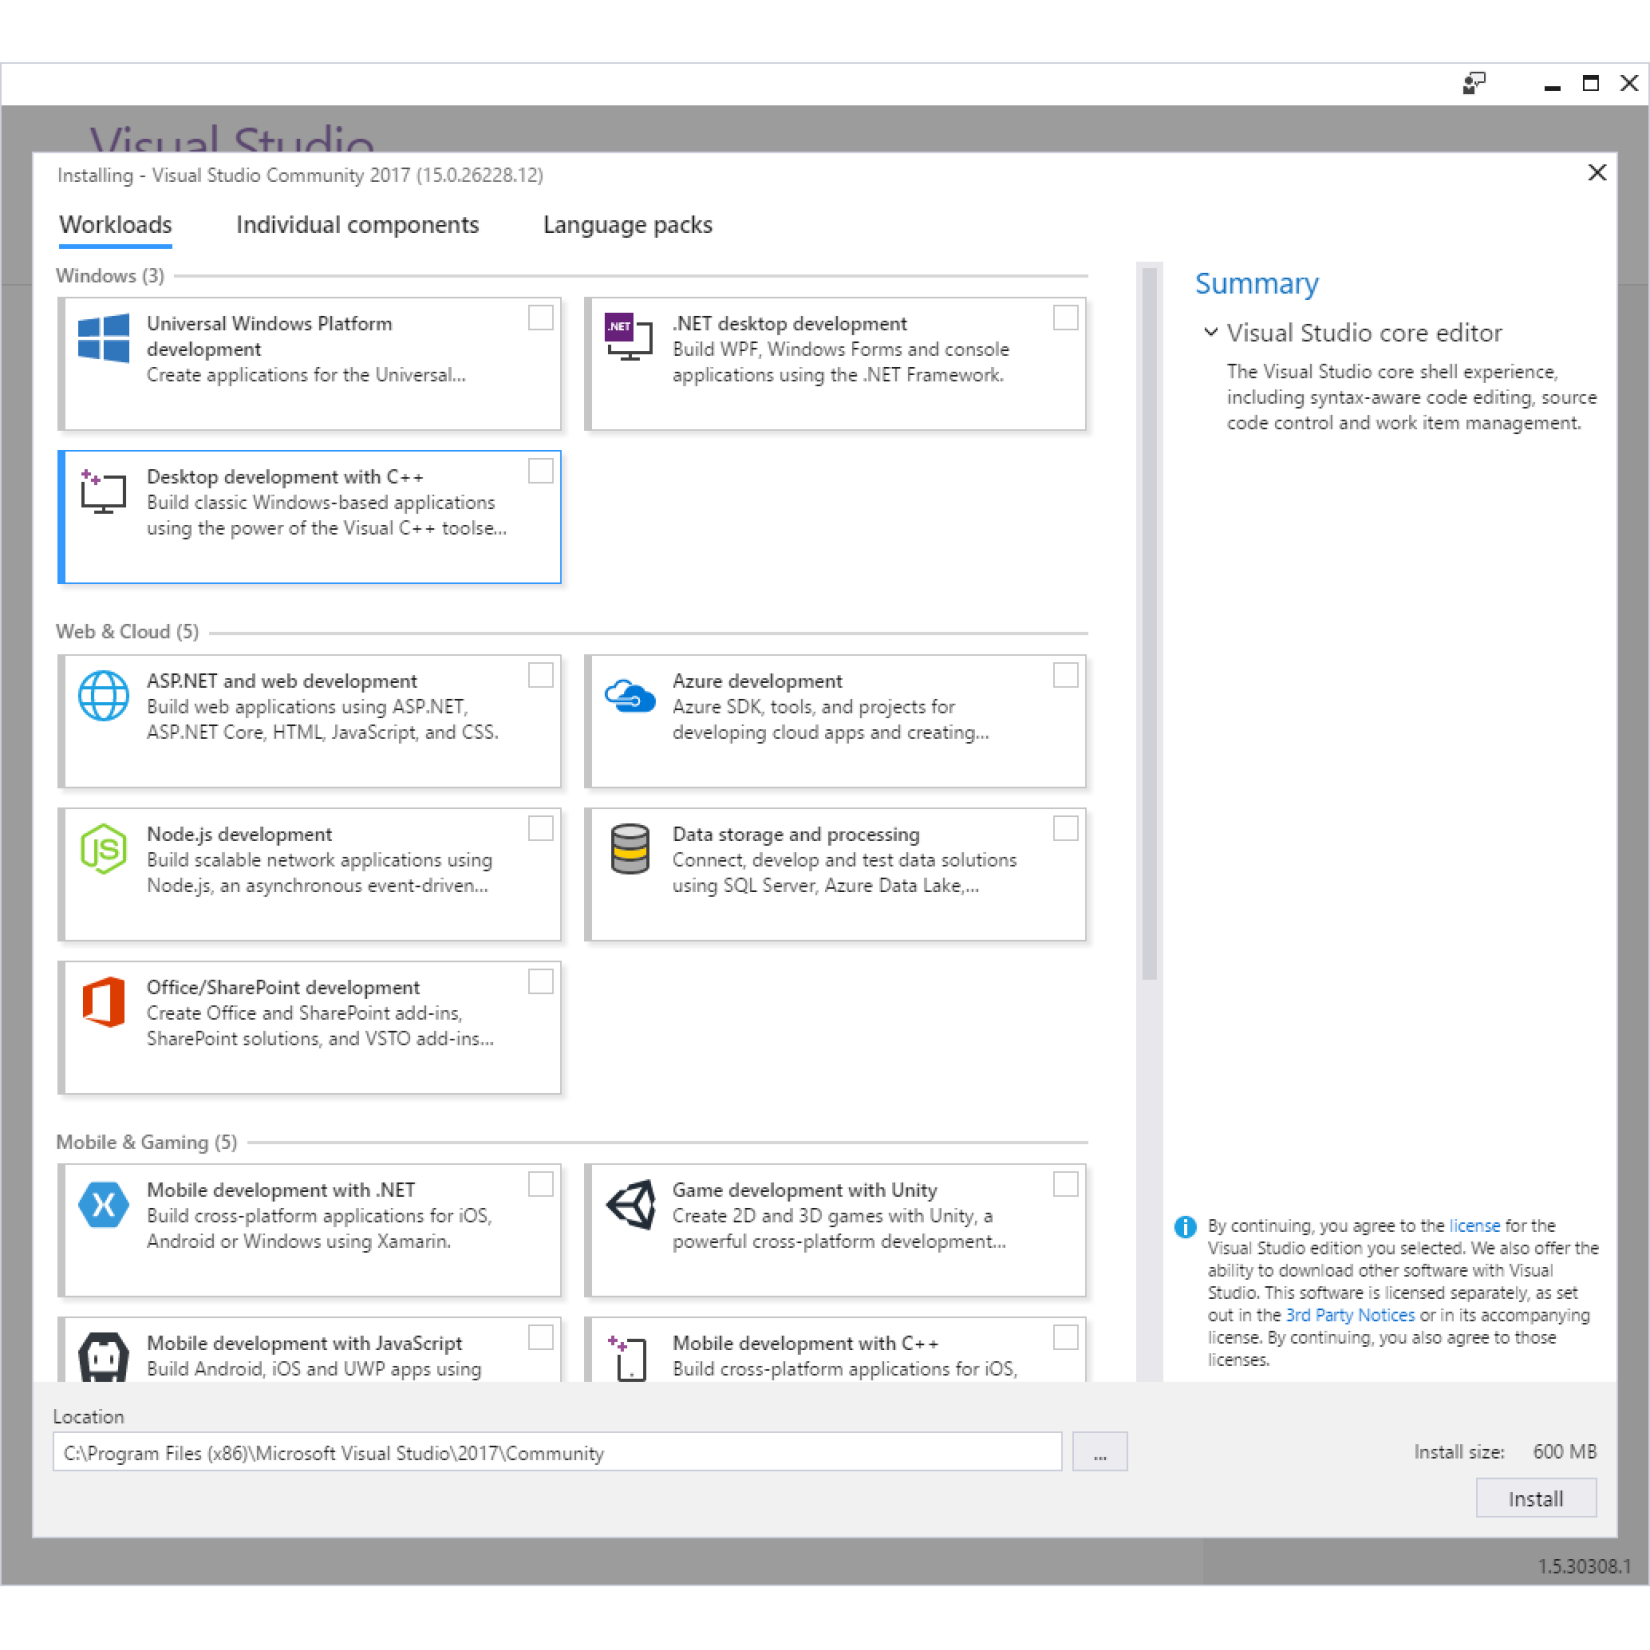
Visual Studio 2017 treats Visual C++ as an optional component, so you have to explicitly indicate that you want to install it through custom options. When you first execute the installer, you will see the following dialog box:

When you click on the Continue button the application will set up the installer, as shown here:

Along the top are three tabs labeled Workloads, Individual Components and Language Packs. Make sure that you have selected the Workloads tab (as shown in the screenshot) and check the checkbox in the ...

